Winter mountaineering: what changes and how to prepare
Mountains in winter are more severe, more remote, and more rewarding than anything summer offers. Here's what's different and what you actually need to get started safely.

Winter is the best season to be in the mountains. I'll stand by that. The crowds disappear, the terrain transforms, and the rewards — a clear summit with snow all the way to the horizon, or a Grade I gully in Scotland at sunrise — are difficult to describe to someone who hasn't experienced them.
It's also a serious undertaking. The same mountain that's a comfortable Grade 1 scramble in July can be a technical, life-threatening route in January. Not because the mountain changes — but because snow and ice fundamentally alter everything about how you move on it.
What "winter conditions" actually means
Most winter hiking in the UK quickly becomes mountaineering — as soon as there's snow and ice requiring technical skills to move safely, you're in mountaineering territory. And in Scotland, winter conditions can appear as late as May. The mountains there don't follow a neat seasonal calendar.
The graded system for winter mountaineering runs from Grade I to Grade IV+:
- —Grade I: gully routes, generally not steep. Ice axe and crampon skills are required but the terrain is forgiving.
- —Grade II: steeper gradient, more sustained. A rope and some protection is advisable.
- —Grade III: tough and technical with serious climbing. Rope and protection is essential.
- —Grade IV+: very serious mixed rock and ice routes, for experienced mountaineers only.
The grading looks similar to summer scrambling, but don't be deceived — it's a fundamentally more dangerous and demanding activity. A Grade I winter gully is not the same as a Grade 1 summer scramble.
The kit that changes everything
Crampons
Crampons attach to your boots and provide grip on snow and ice. They're not optional — walking on icy mountain terrain without them is one of the most dangerous things you can do in the outdoors.
Choose crampons to match your planned activity. For walking and Grade I routes, a C1 crampon designed for flexible boots is enough. If you're planning steeper technical routes, a more aggressive crampon with front points is needed — but that's a conversation for when you're further down the line.
Boots
Crampons require crampon-compatible boots. Standard hiking boots won't work. The stiffness rating matters:
- —B1: flexible, suitable for gentle hiking routes with crampons.
- —B2: significantly stiffer, better for steeper gradients and front-pointing on ice.
- —B3: rated for ice climbing. Overkill for most people starting out.
Unless you know you want to ice climb, buy B1 or B2 boots. They're more comfortable, more versatile, and cheaper. Many people overbuy here and end up with heavy, uncomfortable boots that put them off going out.
Ice axe
People frequently get this wrong. For walking and low-level winter mountaineering, a straight axe approximately the height of your knee is exactly what you need. Too many beginners buy curved technical axes designed for ice climbing — they look impressive but are the wrong tool for most situations.
The ice axe has two critical uses: as a walking aid on steep snow, and for self-arrest — the technique for stopping yourself if you slip and start to slide. Practice this before you need it. Get on a gentle slope, let yourself slide, and stop yourself. This is a skill that needs to be physical and automatic, not theoretical.
The snowpack and avalanche risk
Avalanches happen in the UK. Not often, but they do happen — and in Scotland especially, they're a real risk on certain terrain and in certain conditions.
Slopes between 25–45 degrees are the most avalanche-prone. Gullies and cliffs concentrate any slide and amplify the consequence. Wind-deposited slabs on leeward slopes are the most unpredictable hazard.
Start monitoring the weather in the weeks before a winter trip. Note recent snowfall, temperature swings, and freeze-thaw cycles — these create weak layers in the snowpack. On the hill, look for warning signs: recent avalanche debris, cracking snow, or a "whumpfing" sound that indicates instability.
Two essential resources:
- —MWIS (Mountain Weather Information Service): the best mountain-specific weather forecast in the UK. Free, updated twice daily.
- —SAIS (Scottish Avalanche Information Service): avalanche risk assessments for Scottish mountain areas. Essential for any winter trip in Scotland.
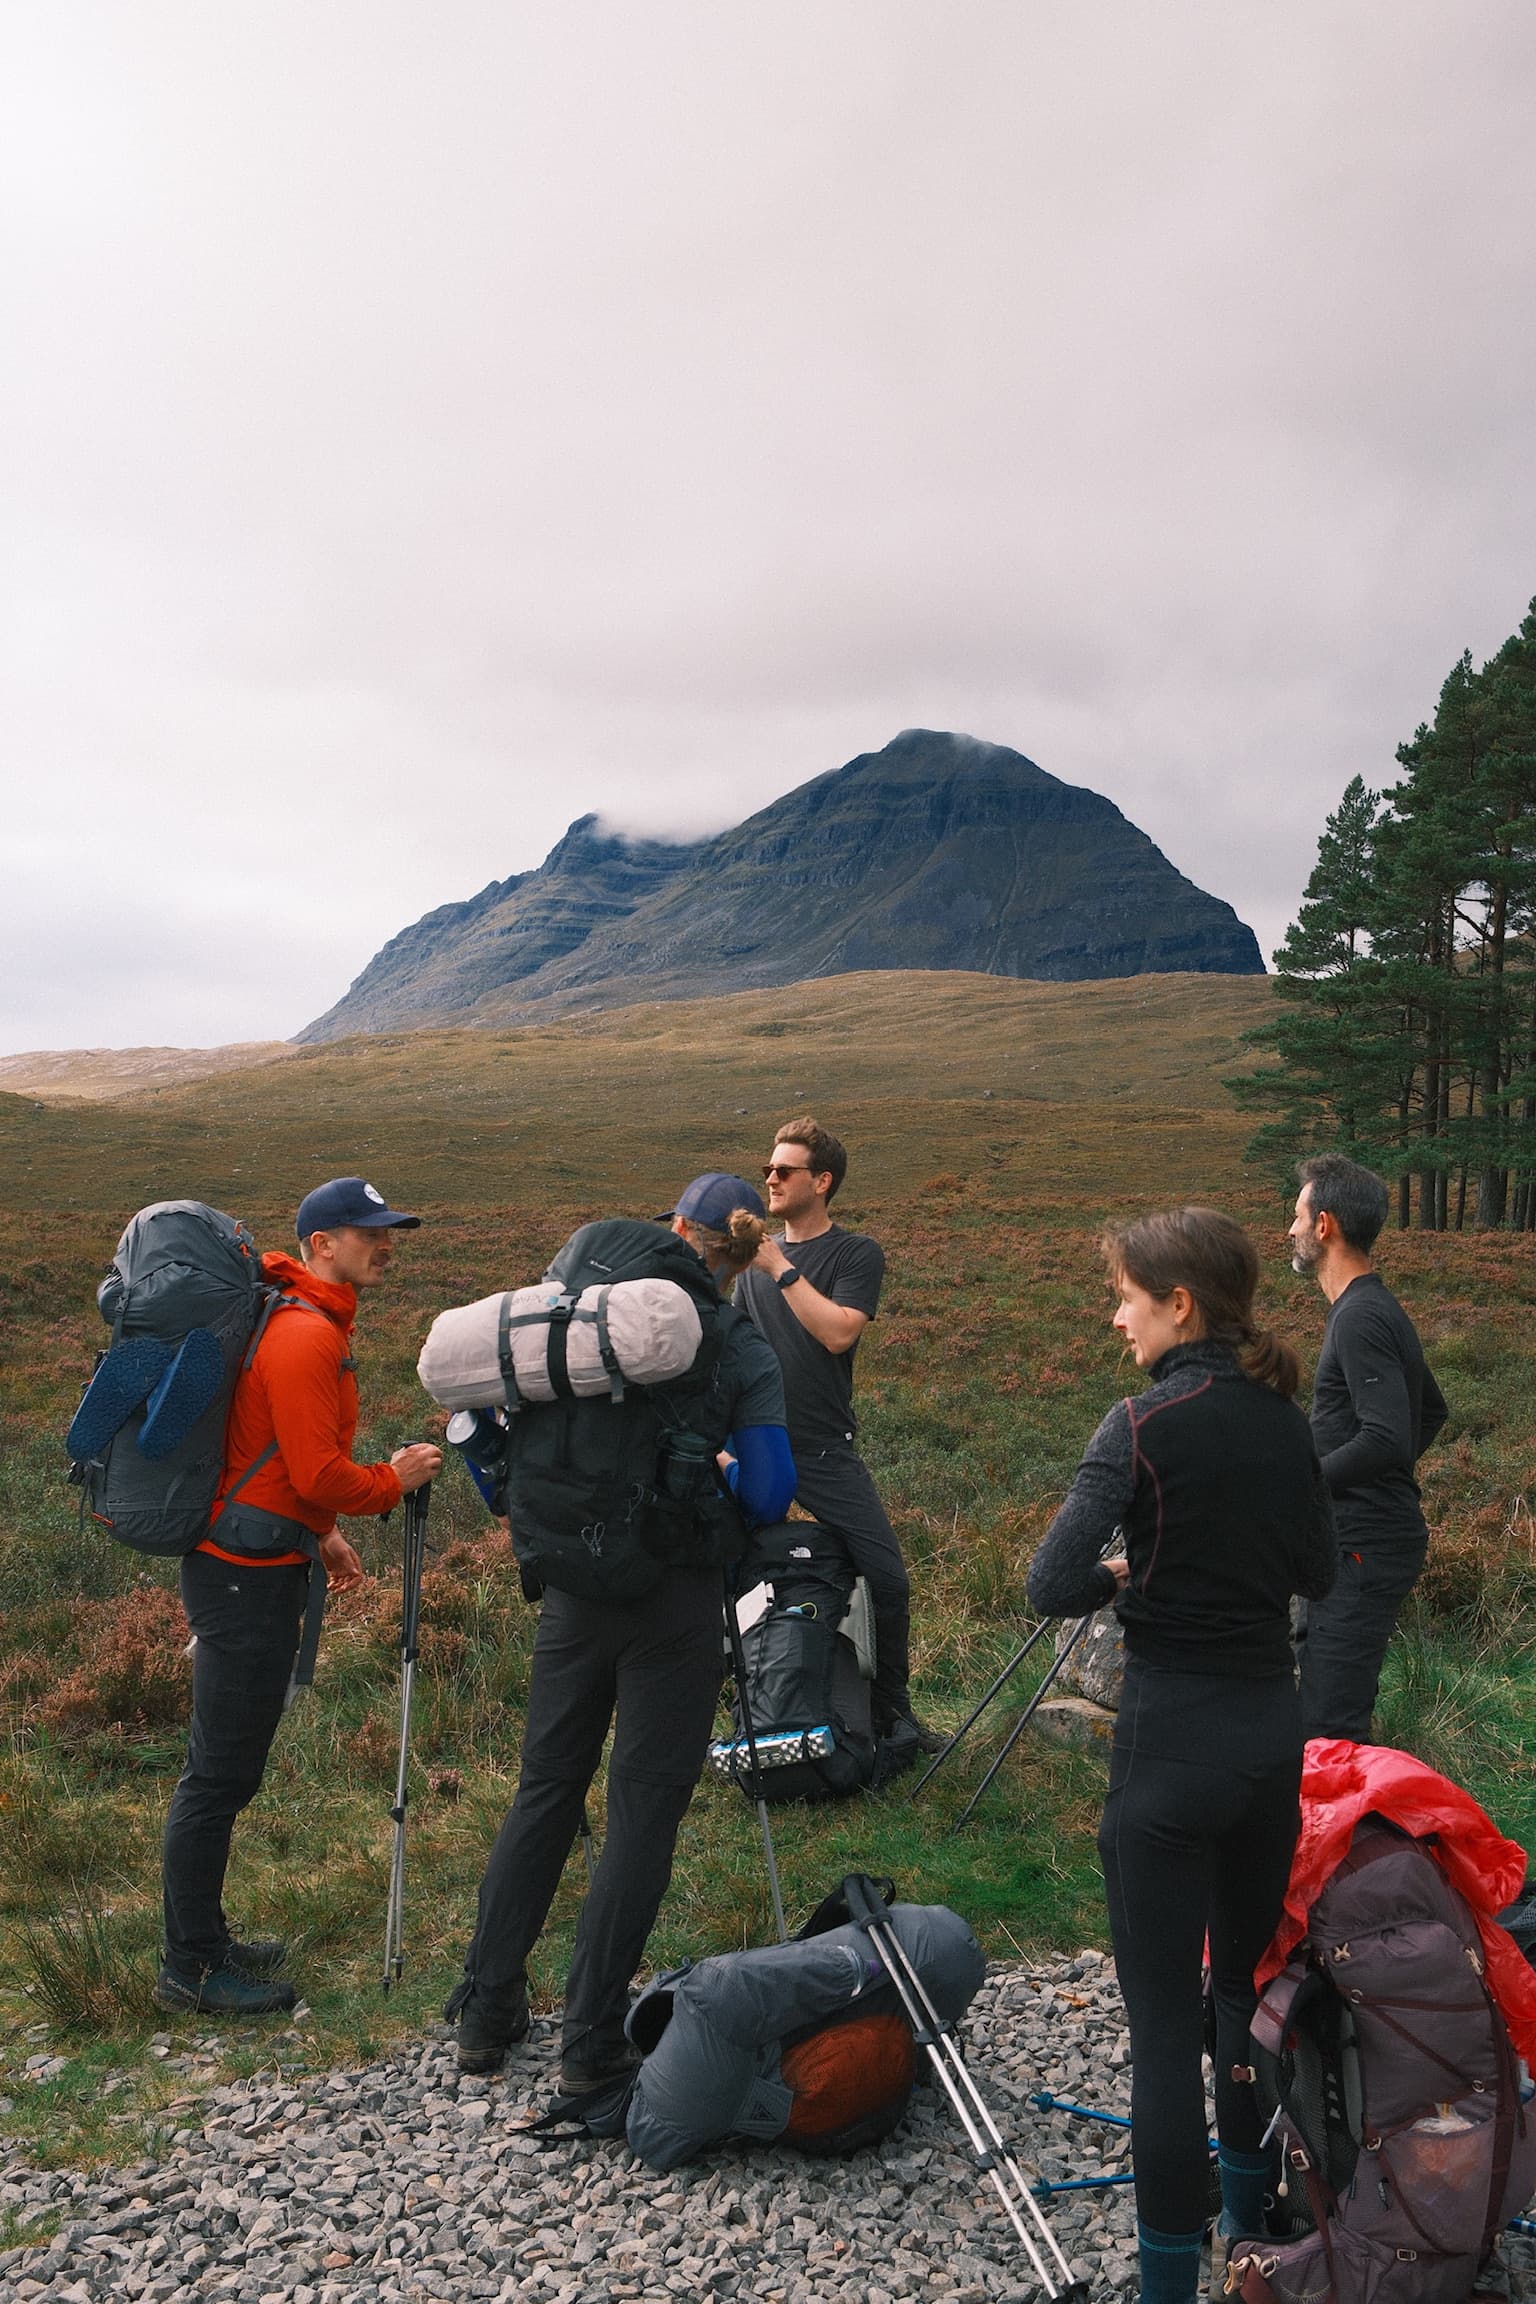
How to build experience safely
Start on gentle slopes. Go out with crampons and an axe on easy, low-angle terrain — somewhere you know well in summer — and practise moving. Practice your ice axe arrest on a slope with a safe runout. Get used to your systems before you commit to anything serious.
Then go with people who know what they're doing. The skills of winter mountaineering — reading snowpack, managing ropes on steep terrain, making turn-back decisions — are not things that translate well from a book. You need to be in the mountains with experienced people to properly understand them.
“The single most important thing in winter mountaineering is knowing when not to go. If conditions are wrong, the mountain will be there next time.”
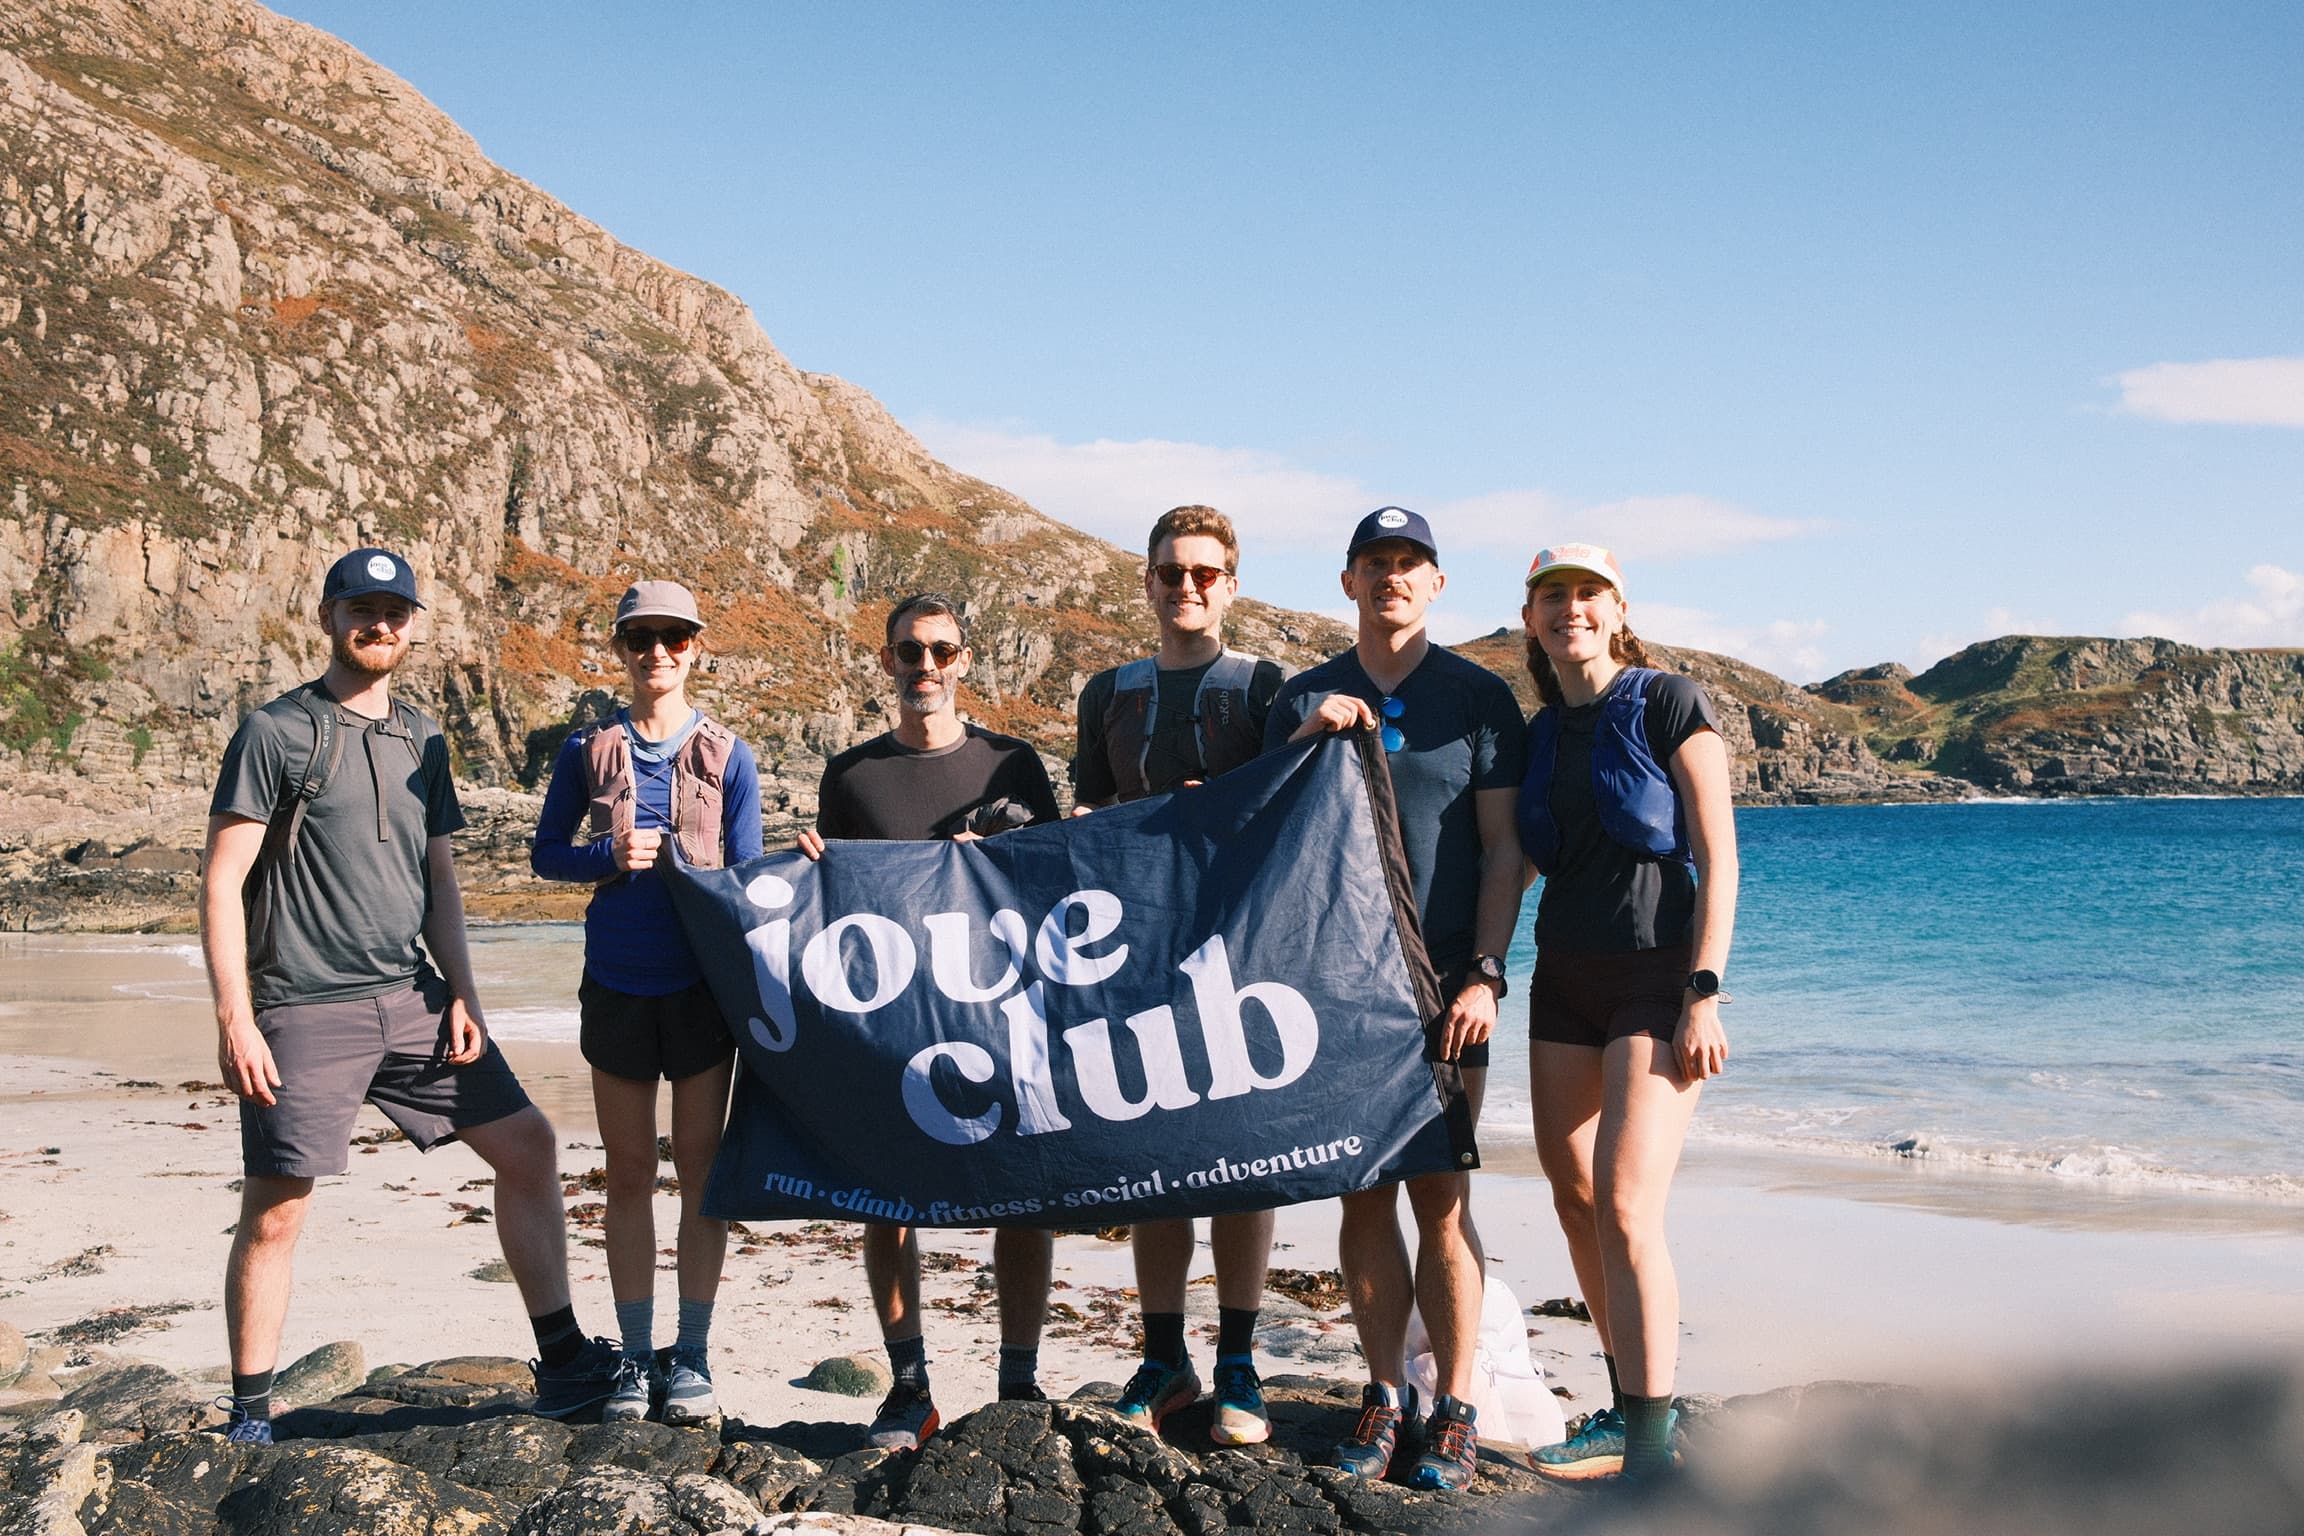
The Scottish Highlands are the best place in the UK for winter mountaineering. Cairngorms, Glencoe, Torridon, the Northwest Highlands — all offer world-class routes once you're ready. Jove Club runs trips to the Highlands in autumn and winter. If you're building towards winter objectives, it's worth starting with a guided trip before committing to technical routes independently.
Jove Club
Start with the Scottish Highlands.
Jove Club runs guided trips to the Highlands in autumn and winter — the best winter mountaineering terrain in the UK.
View Scottish Highlands trip
Ready for the real thing?
See what trips are coming up.
Guided by qualified Mountain Leaders. Small groups. All abilities.
Browse trips