How to plan a mountain hike: the complete guide
Most people don't plan properly — and end up on the wrong route, in the wrong conditions, with the wrong kit. Here's how to do it right from the start.
The number of mountain rescues that happen because people didn't plan properly is staggering. People decide they're going to "go to the mountains", open AllTrails, pick something that looks manageable, and then discover at the crux of the route that it's far beyond what they expected.
Look at the comments on any serious mountain route on AllTrails and you'll consistently see variations of "much harder than described", "very exposed", "not suitable for beginners". That information was always there — it just wasn't found because people skipped the research.
Planning properly doesn't limit your adventure. It lets you push harder with confidence, because you know what you're getting into.
Step 1: Map study
Before anything else, get a map. OS Maps (about £30/year for a digital subscription, or buy a paper map) is the standard for UK routes. Learn to read contour lines — they tell you the shape of the ground, not just the distance. A route that's 8km on flat ground is a very different proposition from an 8km route with 800m of ascent on a narrow ridge.
Once you have a route in mind, try to visualise it from the map before you go. Where are the steeper sections? Are there any exposed ridges? What's the terrain like — open moorland, rocky path, forest? What escape routes exist if conditions deteriorate?
Step 2: Internet research
Once you have a broader area in mind, check multiple sources online. Don't rely on a single app or website. Look for trip reports, forum posts, and recent walk descriptions — these give you ground truth that official descriptions sometimes don't. Try to identify on the map the sections people mention as difficult or confusing.
For anything involving scrambling or technical terrain, a guidebook is worth the £15–20. Cicerone publish guides to most UK mountain areas and include annotated photos, exact start locations, and honest descriptions of what's involved. They're a genuinely useful investment.
Step 3: Work out how long it will take
People almost always underestimate this. On flat pavement at a normal pace, you cover about 5km per hour. But on mountain terrain, elevation changes everything.
Use Naismith's Rule as your baseline: for every 100 metres of elevation gain, add 10 minutes to your estimated time. So a 5km route with 600m of ascent takes 1 hour of walking time plus 60 minutes for the elevation — roughly 2 hours. Then add time for rest stops, navigation, technical sections, and the reality that your fitness might not be where you think it is. Three hours is more realistic.
Always build in buffer time. Plan to be back at the car before dark with an hour to spare. Mountains in the dark — even with a headtorch — are a different and more serious environment.
Step 4: Check the weather properly
Don't use a standard weather app. For mountain planning, use MWIS (Mountain Weather Information Service) — free, updated twice daily, and specific to mountain terrain. Cross-reference with the Met Office hourly forecast.
Check the night before and again on the morning. The four things that matter: wind speed and direction (especially if you're on a ridge), rain (preparation rather than avoidance), temperature at altitude (1 degree colder per 100m of ascent), and visibility. A route that's straightforward in clear conditions can become a navigation challenge in thick cloud.
Step 5: Kit check
The basics for any mountain day:
- —Map and compass — waterproofed and folded to show your route
- —Waterproof jacket and trousers — not decorative ones
- —Warm mid-layer — fleece or insulated jacket
- —Headtorch with spare batteries — even for day hikes
- —First aid kit including foot care (Compeed and tape)
- —Water purification tablets
- —Foil blanket
- —Enough food and water for the full day plus emergency reserve
- —Fully charged phone and powerbank
- —Gloves — at least two pairs if rain is possible
Step 6: Tell someone where you're going
This takes thirty seconds and could save your life. Text a friend or family member with your route and a time by which you'll be back in contact. Leave a note on your car dashboard with the same information. If something goes wrong and you can't call for help, this is the thing that gets mountain rescue looking in the right place.
On the day: pacing and decisions
The classic mistake is charging up the first hill, getting too hot and tired, and suffering for the rest of the day. Unless it's a race, move at a pace where you can hold a conversation and barely sweat. This feels slow at first. It's the right speed.
Eat before you're hungry — something every 45–60 minutes. Sip water consistently rather than drinking large amounts infrequently. Once your energy levels drop, it takes much longer to recover than it would have taken to avoid the dip in the first place.
Knowing when to turn back
This is the hardest decision in mountain days and the one where the most mistakes happen. The psychological pull of sunk cost — you've driven 3 hours, you're almost at the summit, the rest of the group wants to continue — is real and should be actively resisted.
If the weather deteriorates, visibility drops, conditions change significantly from the forecast, or something just feels wrong — turn back. Every experienced mountain person has a long list of times they've turned back and never regretted it. Getting to the summit is ultimately meaningless compared to getting home.
“The mountain will be there next time. The only bad decision you can't reverse is the one you make on the ridge.”
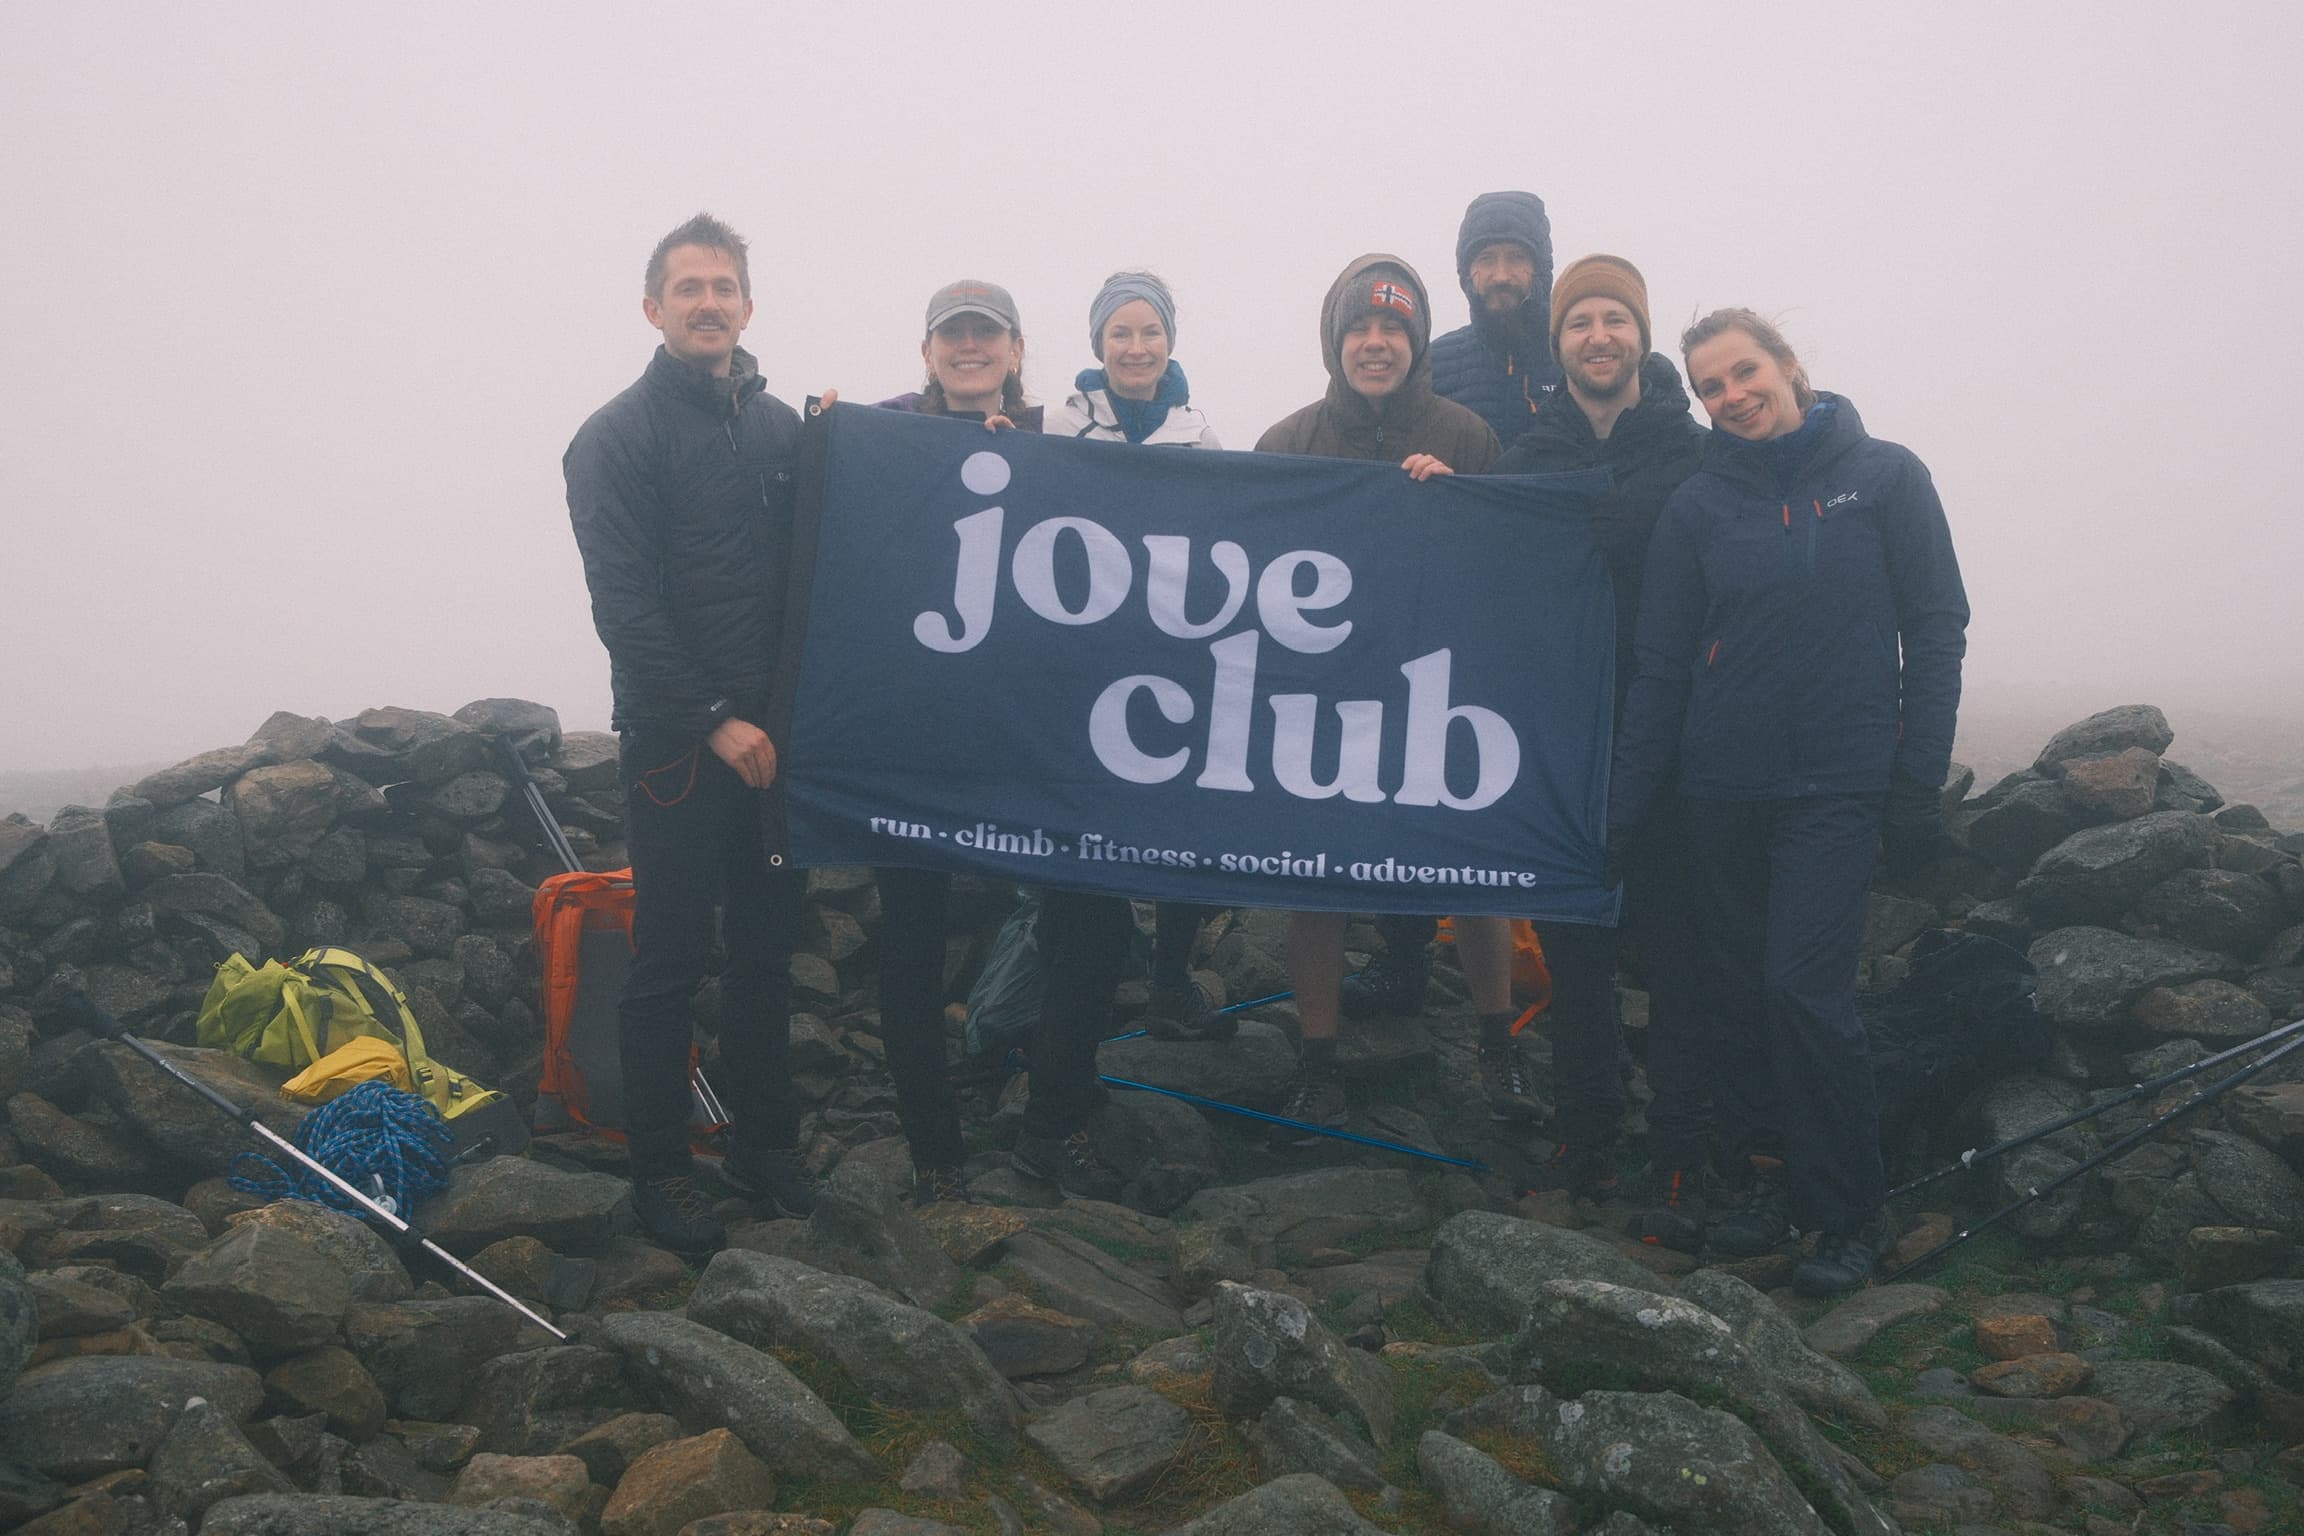
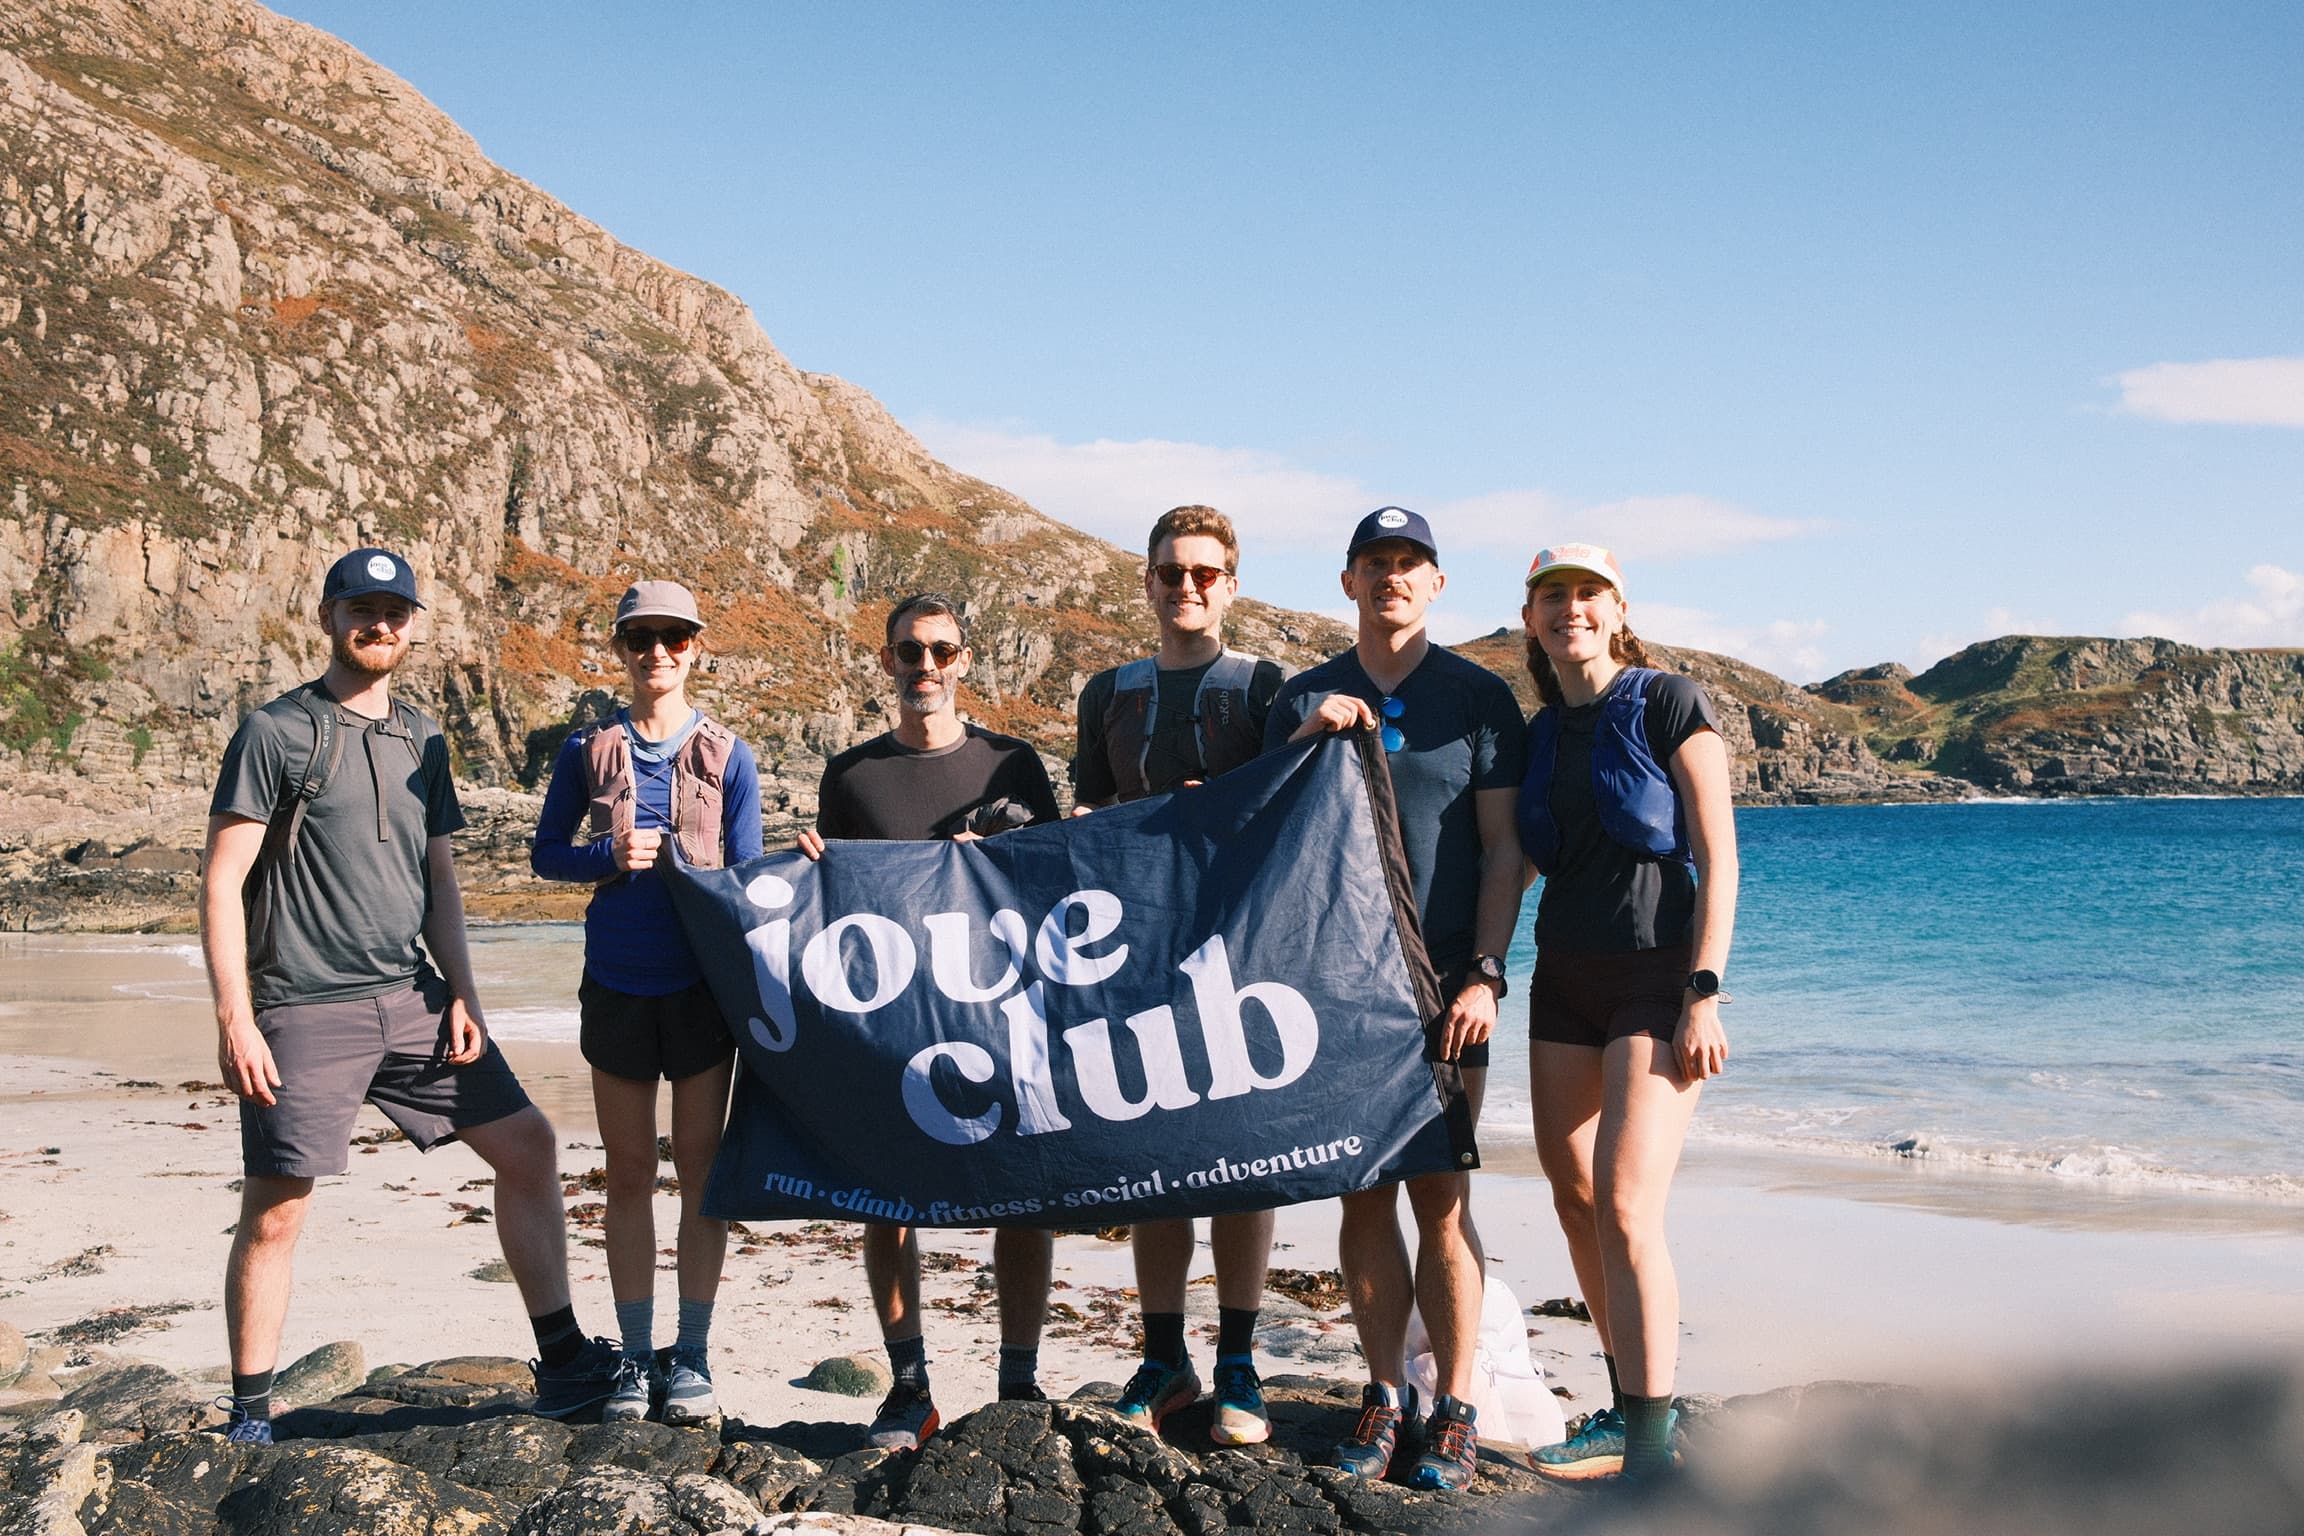
Jove Club
Put the planning into practice.
Browse Jove Club's guided trips — all ability levels, qualified Mountain Leaders, small groups.
Browse trips
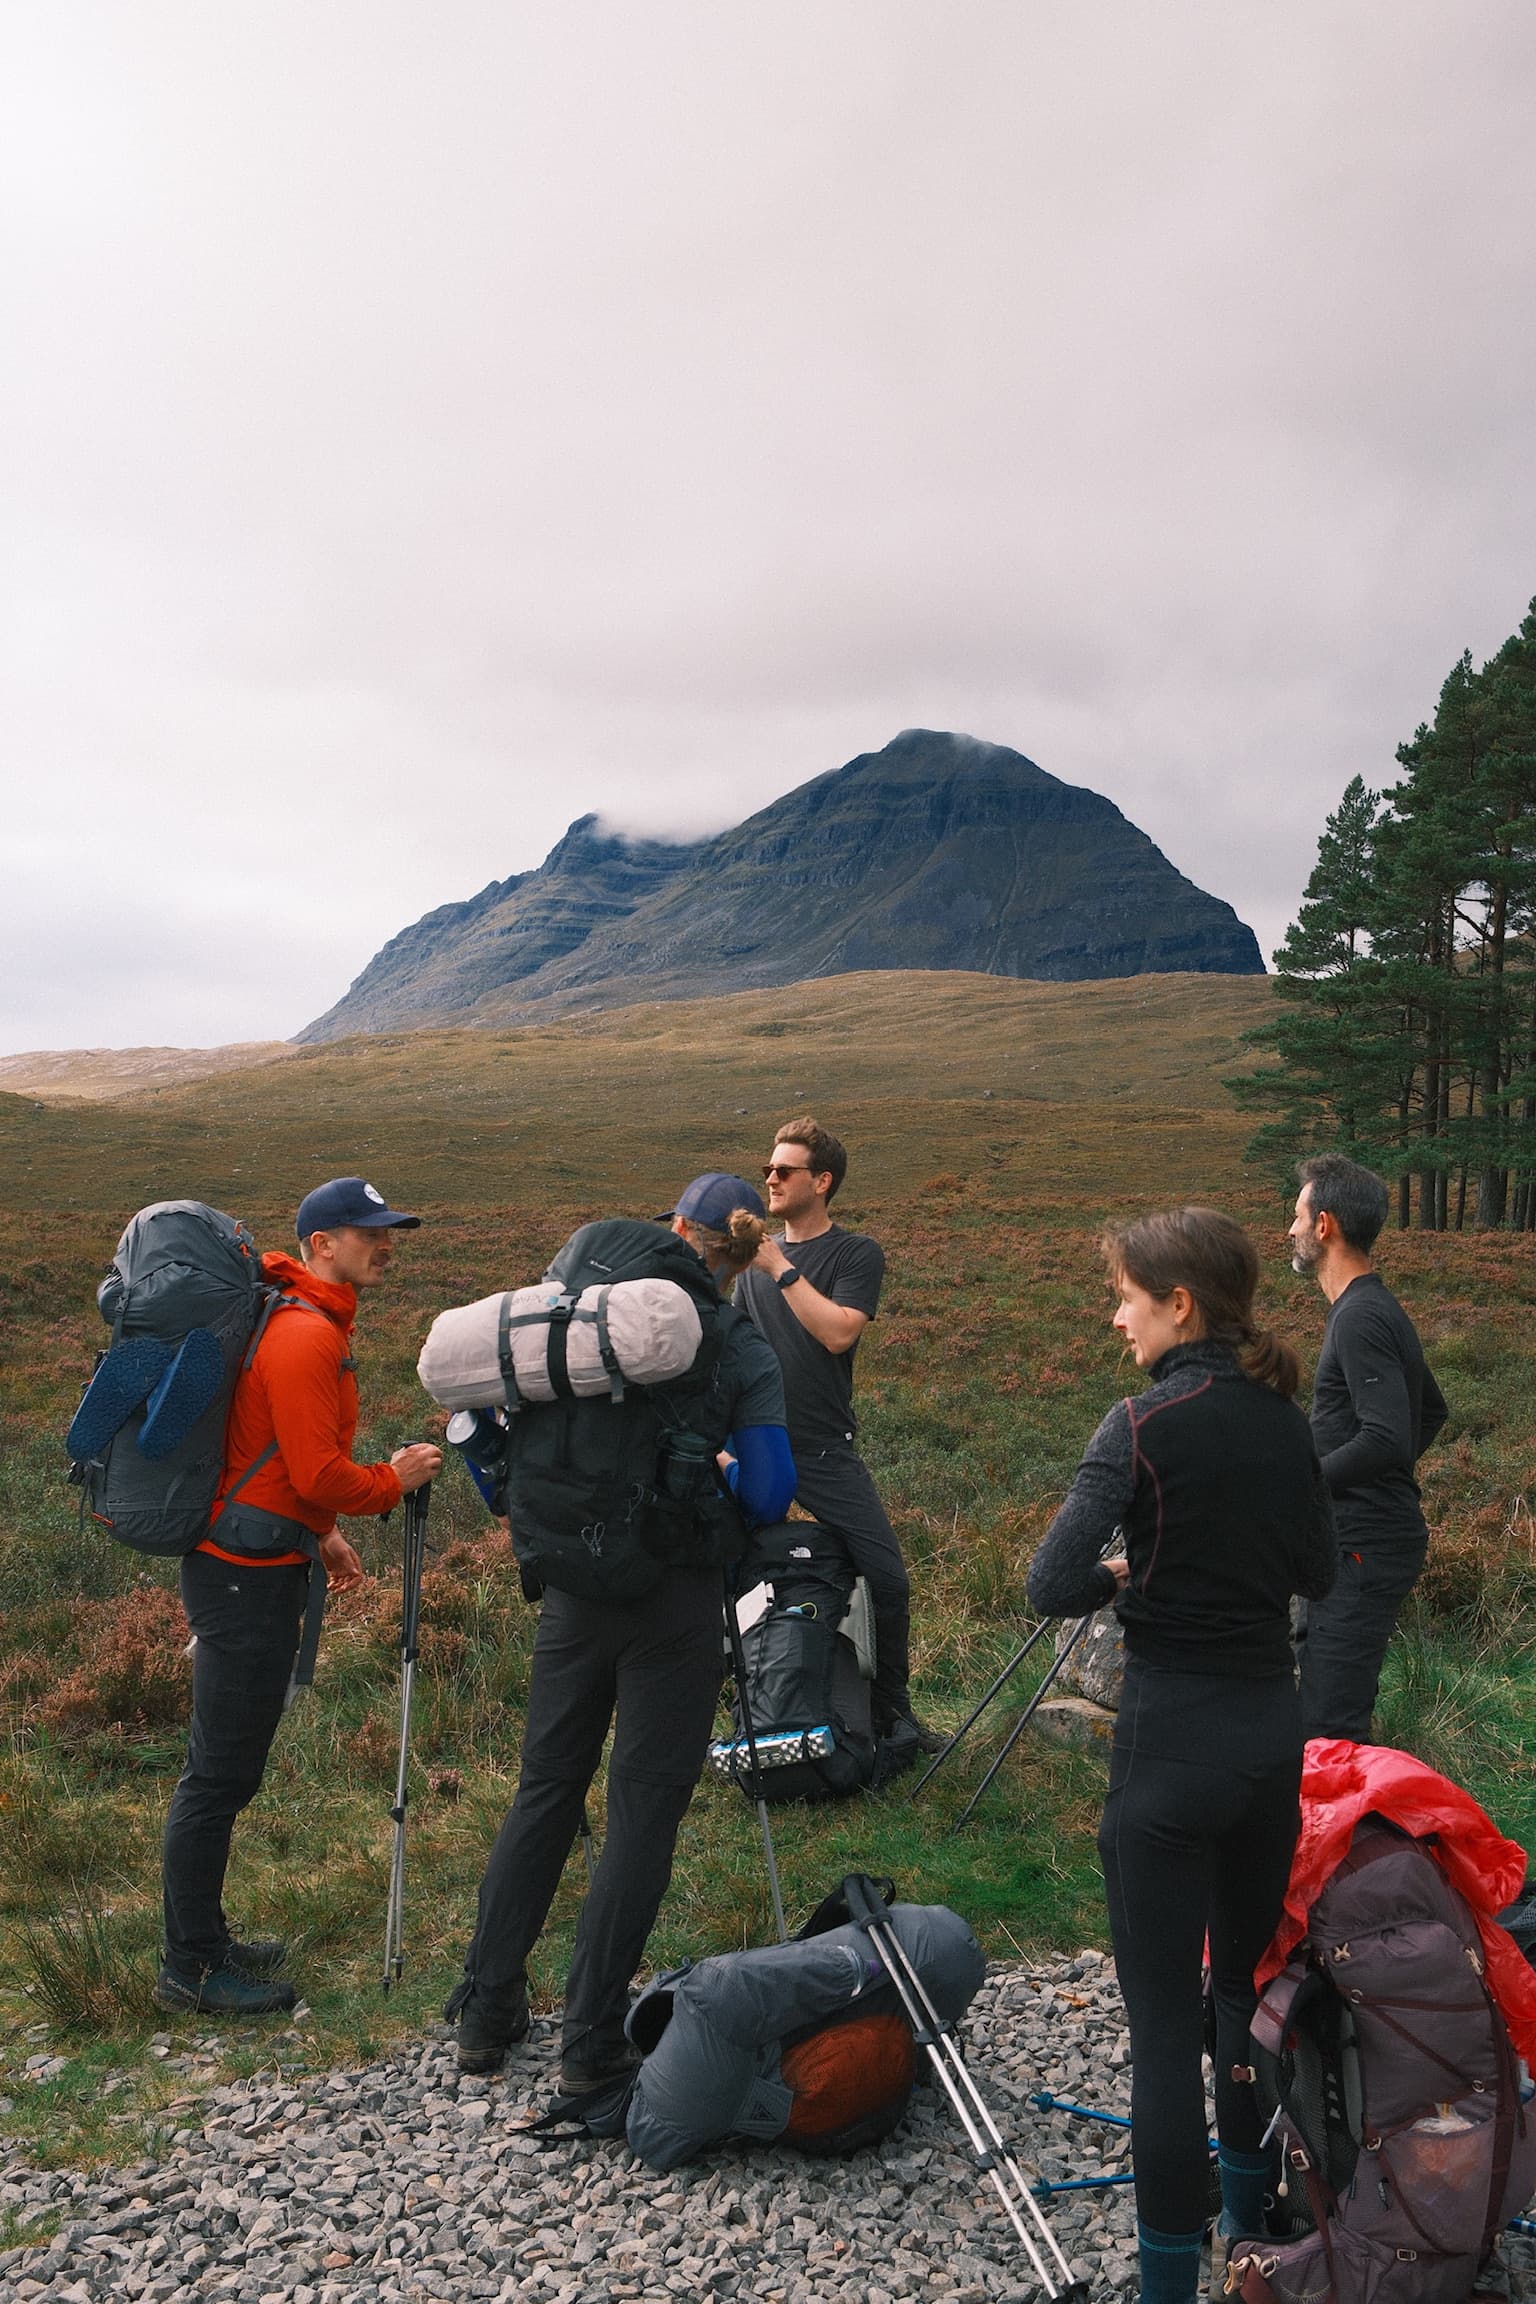
Ready for the real thing?
See what trips are coming up.
Guided by qualified Mountain Leaders. Small groups. All abilities.
Browse trips